I have recently set up a Debian VM with Xfce desktop environment on my Proxmox cluster. It gave me the ability to run some GUI applications while accessing the VM remotely through Proxmox web interface.
The approach worked fine, but I found it a bit inconvenient to find the VM in the Proxmox web interface, and it felt a bit clunky to use.
In the future I could have more than one GUI VM, so I wanted to experiment with a centralized way to access them all.
My requirements are:
- Access the VM GUI from web browser, meaning no need to install any client software.
- List all the available VMs in one place
Apache Guacamole
That brought me to Apache Guacamole, a “clientless remote desktop gateway.”
It’s web-based, supports VNC, and allows centralized access to multiple remote desktops.
A major plus is that it can use PostgreSQL as backend database, which fits nicely with my existing workloads.
My environment
- Proxmox VE 8.4.1
- Debian 13 VM with Xfce desktop environment
- Kubernetes v1.33.4+k3s1
Setting up Guacamole
I mostly followed the official Docker image documentation to set up the deployment. In the documentation it mentioned the requirement of guacd image, so I included that in the same pod as well.
secret.yml
1
2
3
4
5
6
7
8
|
apiVersion: v1
kind: Secret
metadata:
  name: guacamole
  namespace: admin
stringData:
  POSTGRESQL_USERNAME: <redacted>
  POSTGRESQL_PASSWORD: <redacted>
|
deployment.yml
 1
 2
 3
 4
 5
 6
 7
 8
 9
10
11
12
13
14
15
16
17
18
19
20
21
22
23
24
25
26
27
28
29
30
31
32
33
34
35
36
37
38
39
40
41
42
43
44
45
46
47
48
49
50
51
52
53
54
55
56
57
58
59
60
61
62
63
64
65
66
67
68
69
70
71
72
73
74
75
76
77
|
apiVersion: apps/v1
kind: Deployment
metadata:
  name: guacamole
  namespace: admin
  labels:
    app: guacamole
spec:
  replicas: 1
  selector:
    matchLabels:
      app: guacamole
  template:
    metadata:
      labels:
        app: guacamole
    spec:
      containers:
      - name: guacd
        image: guacamole/guacd:1.6.0
        ports:
        - containerPort: 4822
        readinessProbe:
          tcpSocket:
            port: 4822
          initialDelaySeconds: 5
          periodSeconds: 10
        livenessProbe:
          tcpSocket:
            port: 4822
          initialDelaySeconds: 15
          periodSeconds: 20
      - name: guacamole
        image: guacamole/guacamole:1.6.0
        ports:
        - containerPort: 8080
        envFrom:
        - secretRef:
           name: guacamole
        env:
        - name: GUACD_HOSTNAME
          value: "localhost"
        - name: GUACD_PORT
          value: "4822"
        - name: POSTGRES_DATABASE
          value: guacamole
        - name: POSTGRESQL_HOSTNAME
          value: central-rw.postgres.svc.cluster.local

        # Optional: configs for OpenID authentication
        - name: OPENID_ENABLED # enable OpenID authentication
          value: "true"
        - name: EXTENSION_PRIORITY # automatically login with OpenID if available
          value: "openid"
        - name: POSTGRESQL_AUTO_CREATE_ACCOUNTS # automatically create user accounts on first login with OpenID
          value: "true"
        - name: OPENID_AUTHORIZATION_ENDPOINT
          value: https://auth.junyi.me/application/o/authorize/
        - name: OPENID_JWKS_ENDPOINT
          value: https://auth.junyi.me/application/o/guacamole/jwks/
        - name: OPENID_ISSUER
          value: https://auth.junyi.me/application/o/guacamole/
        - name: OPENID_CLIENT_ID
          value: lxZ6KiHatekuzCCPmpxKFOidsHd6zrzPFvluK0ip
        - name: OPENID_REDIRECT_URI
          value: https://guacamole.i.junyi.me/guacamole/

        readinessProbe:
          tcpSocket:
            port: 8080
          initialDelaySeconds: 5
          periodSeconds: 10
        livenessProbe:
          tcpSocket:
            port: 8080
          initialDelaySeconds: 15
          periodSeconds: 20
|
Initialize database
As the docker image page points out,
Beware that you will need to initialize the database manually. Guacamole will not automatically create its own tables, but SQL scripts are provided to do this.
the database needs to be initialized manually.
First I created the database in my PostgreSQL instance:
1
2
3
4
5
|
-- create user
CREATE USER <username> WITH PASSWORD '<password>';

CREATE DATABASE guacamole;
GRANT ALL PRIVILEGES ON DATABASE guacamole TO <username>;
|
Then I grabbed the SQL scripts from the pod, and executed it in my Postgres pod.
1
2
3
4
5
6
7
8
9
|
# k is an alias for kubectl

# grab the SQL script
kcs admin # switch to admin namespace
k exec <guacamole-pod> -c guacamole /opt/guacamole/bin/initdb.sh --postgres > guacamole-init.sql

# execute the SQL script in DB pod
kcs postgres
k exec -i <db-pod> -- psql -U postgres guacamole < guacamole-init.sql
|
Expose Guacamole
I exposed the Guacamole service through Traefik Ingress, through an internal entrypoint so that it’s only accessible within my home network.
service.yml
 1
 2
 3
 4
 5
 6
 7
 8
 9
10
11
12
13
|
apiVersion: v1
kind: Service
metadata:
  name: guacamole
  namespace: admin
spec:
  selector:
    app: guacamole
  ports:
  - name: proxy
    protocol: TCP
    port: 80
    targetPort: 8080
|
ingress.yml
 1
 2
 3
 4
 5
 6
 7
 8
 9
10
11
12
13
14
15
16
17
18
19
20
21
22
23
24
|
apiVersion: networking.k8s.io/v1
kind: Ingress
metadata:
  name: guacamole
  namespace: admin
  annotations:
    traefik.ingress.kubernetes.io/router.entrypoints: internal, internalsecure
spec:
  ingressClassName: traefik
  rules:
    - host: guacamole.i.junyi.me
      http:
        paths:
        - path: /
          pathType: Prefix
          backend:
            service:
              name: guacamole
              port:
                number: 80
  tls:
    - hosts:
        - "guacamole.i.junyi.me"
      secretName: junyi-me-production
|
VM setup
Before adding the VM into Guacamole, I needed to set up a VNC server in the Debian VM.
1
2
3
|
sudo apt update
sudo apt install tigervnc-standalone-server tigervnc-common dbus-x11 vim
vncpasswd
|
Also configured it to start Xfce session.
1
2
|
vim ~/.config/tigervnc/xstartup
chmod +x ~/.config/tigervnc/xstartup
|
vncserver@.service
1
2
3
4
5
|
#!/bin/sh

unset SESSION_MANAGER
unset DBUS_SESSION_BUS_ADDRESS
exec startxfce4
|
Then I created a systemd service for the VNC server:
1
2
|
mkdir -p ~/.config/systemd/user
vim ~/.config/systemd/user/vncserver@.service
|
vncserver@.service
 1
 2
 3
 4
 5
 6
 7
 8
 9
10
11
12
13
14
|
[Unit]
Description=Start VNC server at startup
After=syslog.target network.target

[Service]
Type=forking
ExecStartPre=/bin/sh -c '/usr/bin/vncserver -kill :%i > /dev/null 2>&1 || :'
ExecStart=/usr/bin/vncserver -localhost no :%i
ExecStop=/usr/bin/vncserver -kill :%i
Restart=on-failure
RestartSec=10

[Install]
WantedBy=default.target
|
Made sure it starts at boot:
1
2
3
|
systemctl --user daemon-reload
systemctl --user enable --now vncserver@1.service
sudo loginctl enable-linger jy
|
And confrimed it’s running:
1
2
3
4
5
6
|
$ vncserver -list

TigerVNC server sessions:

X DISPLAY #     RFB PORT #      RFB UNIX PATH   PROCESS ID #    SERVER
1               5901                            49648           Xtigervnc
|
Register VM on Guacamole
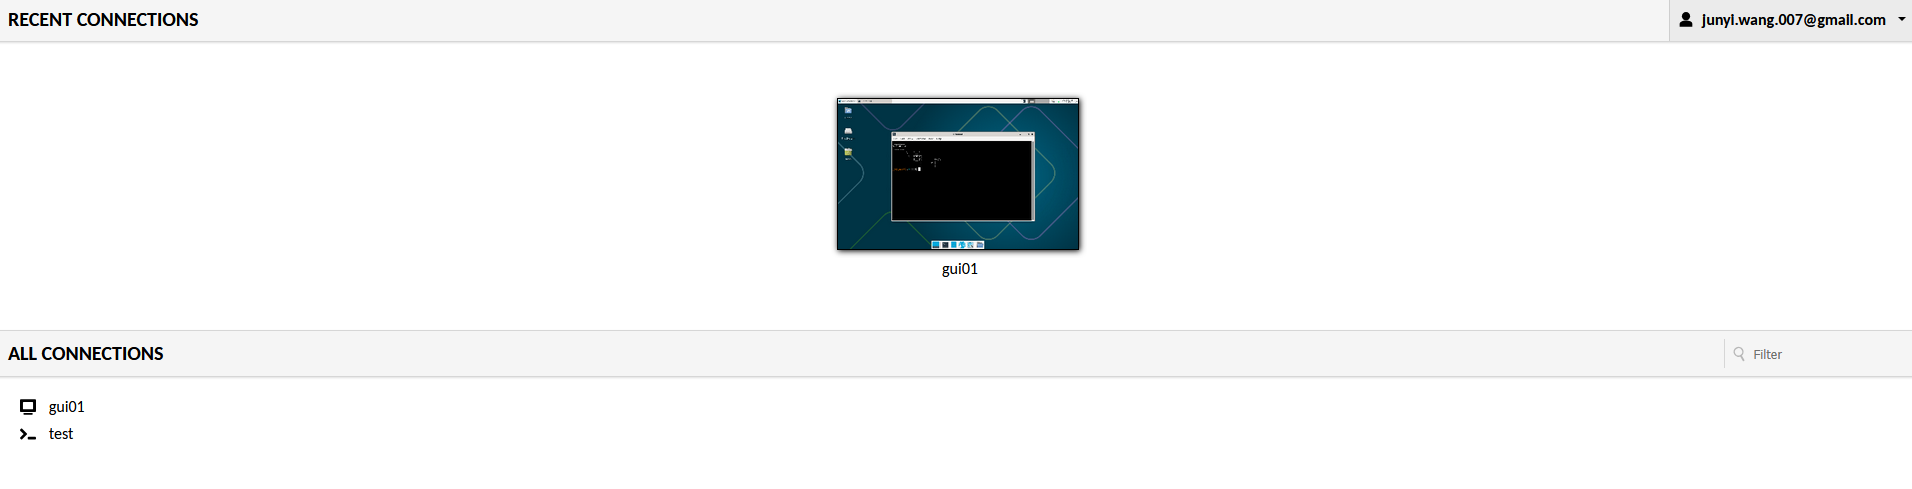
Registering a VM on Guacamole was pretty straightforward. After logging in with admin account, go to Settings > Connections > New Connection, and fill in the connection info and credentials.
And the VM should appear in the home screen.