I had been using longhorn as the storage backend for my kubernetes cluster, and it had been working well. It is very easy to setup, and I highly recommend it for anyone starting out with Kubernetes / home labbing.
The thought came when I was running out of storage I assigned to my longhorn storage class. I had to expand my storage, and the only easy way to do it was to add more disks to my storage node.
Now that is a totally valid option, but something about it felt wrong.
The thing is, my k8s nodes are all VMs, so to add disks to them, I had to do USB passthrough for each disk. This was what I did for setting up NFS inside a VM too, and it worked, but I thought it would be better if I could do all this on the host-level. After I did some web surfing about this topic, I found a lot of people advocating the same idea: storage should be managed at the host level, not at the VM or k8s level.
Since I’m using Proxmox as my hypervisor, Ceph came up as a natural choice for storage provisioning. So, here is how it went.
Prerequisites
- Proxmox cluster (although not required, I will be using it in this post)
- Ceph cluster (if you are using Proxmox, it’s pretty easy to set up: Deploy Hyper-Converged Ceph Cluster)
- k8s cluster
Create a Ceph pool for Kubernetes
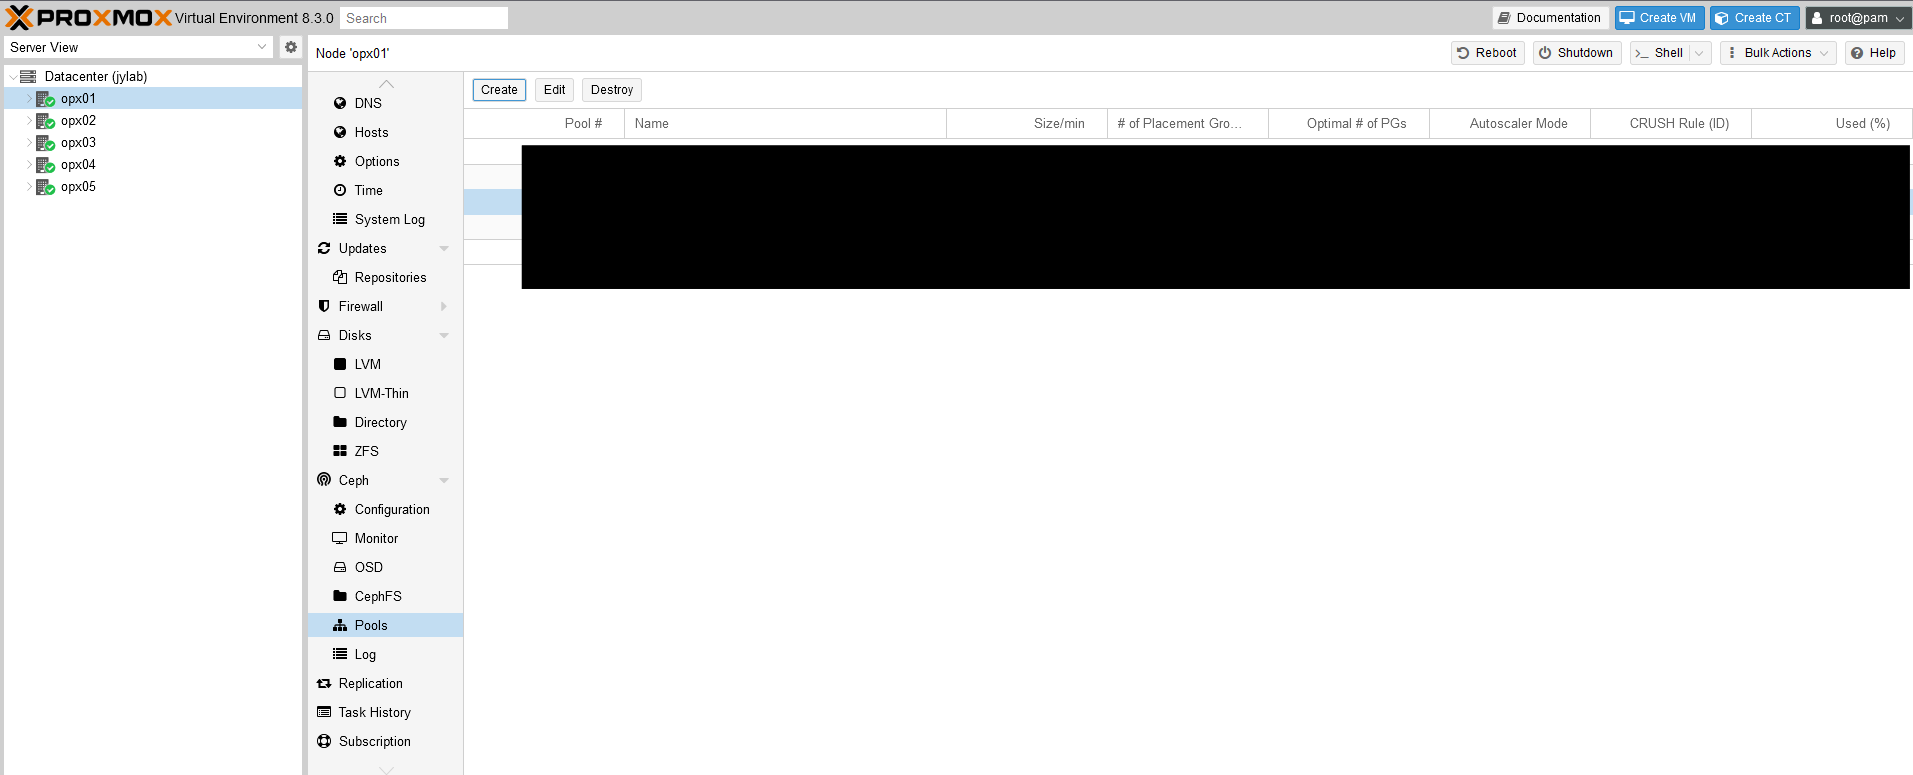
Go to Proxmox console, and create a new pool for k8s.

Example:

Size 3 means Ceph will try to keep 3 copies of the data across different nodes.
Install ceph-csi on k8s
First we need a client that k8s can use to interact with Ceph.
Login to one of your Ceph monitor nodes, run the following, and copy the key that is generated.
1
2
3
|
# ceph auth get-or-create client.kubernetes mon 'profile rbd' osd 'profile rbd pool=kubernetes' mgr 'profile rbd pool=kubernetes'
[client.kubernetes]
    key = AQD9o0Fd6hQRChAAt7fMaSZXduT3NWEqylNpmg==
|
Then grab the fsid and monitor addresses. Example:
1
2
3
4
5
6
7
8
|
# ceph mon dump
...
fsid b9127830-b0cc-4e34-aa47-9d1a2e9949a8
...
0: [v2:10.0.69.6:3300/0,v1:10.0.69.6:6789/0] mon.opx05
1: [v2:10.0.69.5:3300/0,v1:10.0.69.5:6789/0] mon.opx04
2: [v2:10.0.69.4:3300/0,v1:10.0.69.4:6789/0] mon.opx03
...
|
Now, create the configmaps and secret for ceph-csi:
 1
 2
 3
 4
 5
 6
 7
 8
 9
10
11
12
13
14
15
16
17
18
19
20
21
22
23
24
25
26
27
28
29
30
31
32
33
34
35
36
37
38
39
40
41
42
43
44
45
46
47
48
49
50
51
52
53
54
55
56
57
|
# ceph-csi.yaml

apiVersion: v1
kind: ConfigMap
data:
  config.json: |-
    [
      {
        "clusterID": "b9127830-b0cc-4e34-aa47-9d1a2e9949a8",
        "monitors": [
          "10.0.69.4:6789",
          "10.0.69.5:6789",
          "10.0.69.6:6789"
        ]
      }
    ]
metadata:
  name: ceph-csi-config
  namespace: default

---

apiVersion: v1
kind: ConfigMap
data:
  config.json: |-
    {}
metadata:
  name: ceph-csi-encryption-kms-config
  namespace: default

---

apiVersion: v1
kind: ConfigMap
data:
  ceph.conf: |
    [global]
    auth_cluster_required = cephx
    auth_service_required = cephx
    auth_client_required = cephx
  # keyring is a required key and its value should be empty
  keyring: |
metadata:
  name: ceph-config
  namespace: default

---

apiVersion: v1
kind: Secret
metadata:
  name: csi-rbd-secret
  namespace: default
stringData:
  userID: kubernetes
  userKey: AQD9o0Fd6hQRChAAt7fMaSZXduT3NWEqylNpmg==
|
Apply them, along with manifests from the official ceph-csi repo:
1
2
3
4
5
6
7
|
kubectl apply -f ceph-csi.yaml
kubectl apply -f https://raw.githubusercontent.com/ceph/ceph-csi/master/deploy/rbd/kubernetes/csi-provisioner-rbac.yaml
kubectl apply -f https://raw.githubusercontent.com/ceph/ceph-csi/master/deploy/rbd/kubernetes/csi-nodeplugin-rbac.yaml
wget https://raw.githubusercontent.com/ceph/ceph-csi/master/deploy/rbd/kubernetes/csi-rbdplugin-provisioner.yaml
kubectl apply -f csi-rbdplugin-provisioner.yaml
wget https://raw.githubusercontent.com/ceph/ceph-csi/master/deploy/rbd/kubernetes/csi-rbdplugin.yaml
kubectl apply -f csi-rbdplugin.yaml
|
Create a storage class
Before defining any PVCs, we need to create a storage class that uses the ceph-csi provisioner.
 1
 2
 3
 4
 5
 6
 7
 8
 9
10
11
12
13
14
15
16
17
18
19
20
21
|
# csi-rbd-sc.yaml

apiVersion: storage.k8s.io/v1
kind: StorageClass
metadata:
  name: csi-rbd-sc
provisioner: rbd.csi.ceph.com
parameters:
  clusterID: b9127830-b0cc-4e34-aa47-9d1a2e9949a8
  pool: kubernetes
  imageFeatures: layering
  csi.storage.k8s.io/provisioner-secret-name: csi-rbd-secret
  csi.storage.k8s.io/provisioner-secret-namespace: default
  csi.storage.k8s.io/controller-expand-secret-name: csi-rbd-secret
  csi.storage.k8s.io/controller-expand-secret-namespace: default
  csi.storage.k8s.io/node-stage-secret-name: csi-rbd-secret
  csi.storage.k8s.io/node-stage-secret-namespace: default
reclaimPolicy: Delete
allowVolumeExpansion: true
mountOptions:
  - discard
|
Apply it:
1
|
kubectl apply -f csi-rbd-sc.yaml
|
Optionally, set it as the default storage class:
1
|
kubectl patch storageclass csi-rbd-sc -p '{"metadata": {"annotations":{"storageclass.kubernetes.io/is-default-class":"true"}}}'
|
I did this, since this will be my primary way to provision storage for my workloads.
Confirm it’s working
Create a PVC and a pod that uses it:
 1
 2
 3
 4
 5
 6
 7
 8
 9
10
11
12
13
14
15
16
17
18
19
20
21
22
23
24
25
26
27
28
29
30
31
32
|
# test.yml

apiVersion: v1
kind: PersistentVolumeClaim
metadata:
  name: test-pvc
spec:
  accessModes:
    - ReadWriteOnce
  storageClassName: csi-rbd-sc
  resources:
    requests:
    storage: 1Gi

---

apiVersion: v1
kind: Pod
metadata:
  name: test-pod
spec:
  containers:
  - name: test-container
    image: debian
    command: ["/bin/sh", "-c", "sleep 3600"]
    volumeMounts:
    - mountPath: "/mnt"
      name: test-volume
    volumes:
    - name: test-volume
      persistentVolumeClaim:
        claimName: test-pvc
|
Apply it and exec into the pod:
1
2
|
kubectl apply -f test.yml
kubectl exec -it test-pod -- bash
|
Inside the pod, you should see the PVC mounted at /mnt, and you can read/write to it.
In the same manner, you can now create PVCs for your own workloads.
Conclusion
It’s awesome to be able to provision storage dynamically for my k8s workloads, and upgrading/expanding storage is now a breeze. The concepts behind Ceph seemed daunting at first, but as I got my hands dirty, it all started to make sense. Both as a upgrade to my homelab and as a learning experience, this was/is a great project.
The official documentation by Ceph was very helpful: Block Devices and Kubernetes.


